Are you getting an error regarding no SIM in Android and looking for a solution for it? Are you encountering an Android no SIM card detected error? Do not worry; you have directed yourself to the correct web page.
No matter what, whether you are a beginner or an advanced Android user, getting a no SIM Card error is common for most users, and there are several reasons behind it. Imagine you’re about to call someone, you take your phone out and find no Sim Card error. Well, you’re not alone and there are many others who face the same error at some stage. Don’t be panic and follow this guide to get rid of it quickly.

These ultimate guides will help you in fixing the Android no SIM Card detected error. However, it requires some necessary steps to get the Android no SIM Card detected error fixed.
So, without wasting any more time, let’s have a look at the solutions.
Best Ways You Can Fix Android No SIM Card Detected Error
Reboot To Fix Android No SIM Card Detected Error
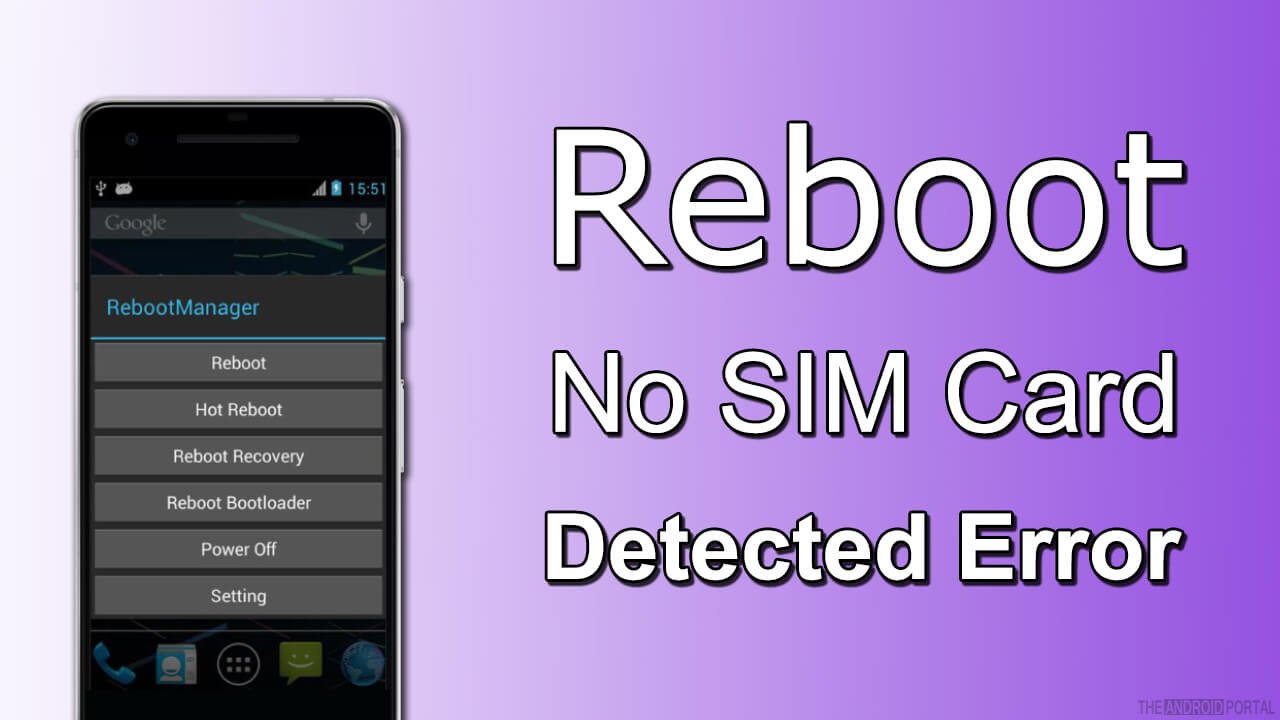
If you are receiving the error due to any software glitch, then you can get the Android no SIM card detected error fixed by rebooting your Android device. So, follow the steps carefully.
STEP 1: Press and hold the power button of the target Android device until you find a pop-up window appearing.
STEP 2: Select the restart or reboot option from the menu bar and tap on it.
STEP 3: After the restart, you will get an Android no SIM card detected error fixed.
Re-enable the SIM Card
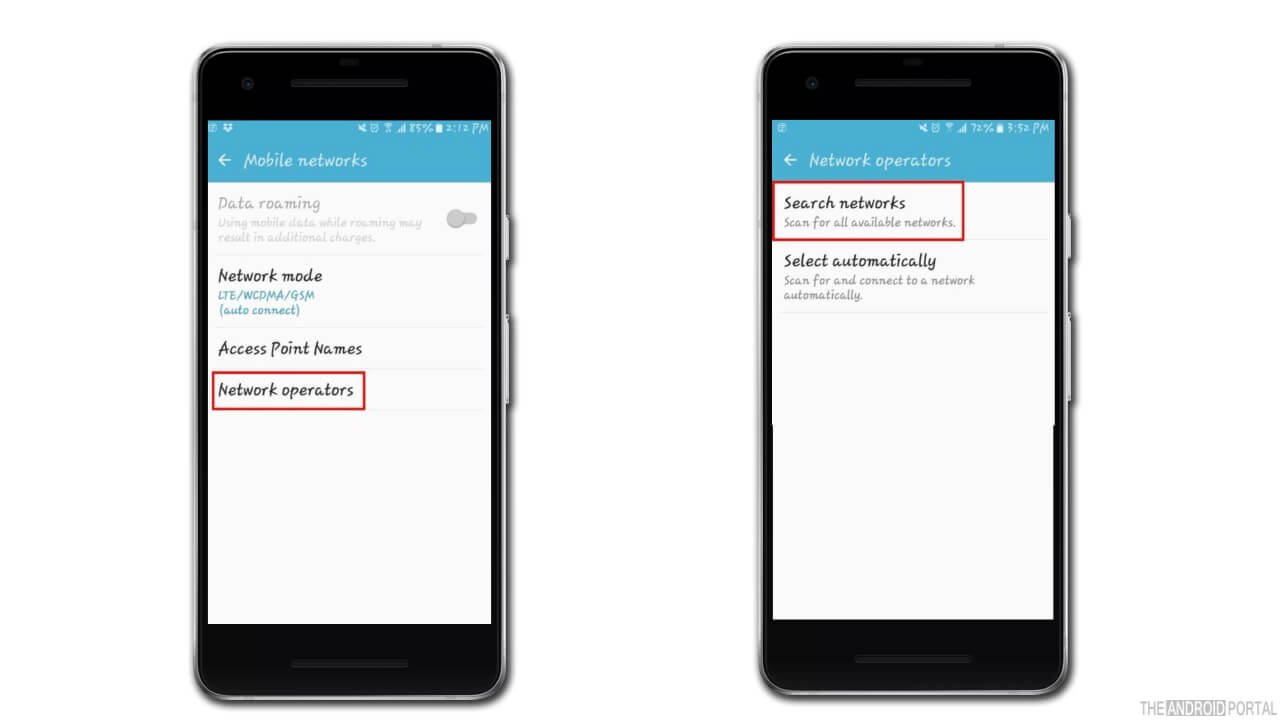
This method is only applicable to the latest Android version. Follow the steps given down below.
STEP 1: Select the settings option on your Android device and open it.
STEP 2: Proceed towards the Network & Internet option and tap on it.
STEP 3: Select the SIM cards option from the menu bar and turn ON your SIM card. Doing so will get the Android no SIM card detected error fixed.
Eject And Reinsert Sim Card

If you are still getting the same error, follow the below steps.
STEP 1: Press your power key and switch off your Android device.
STEP 2: Remove the SIM card from your Android device and wait for 30 seconds.
STEP 3: Insert the SIM card again into your Android mobile phone and switch On. Probably, the error should be fixed.
Do APN Settings Manually To Fix the Android No SIM Card Detected Error

You can also fix this error easily by entering your APN Settings Manually. You need to follow some steps to get positive results.
STEP 1: Select the setting option on your Android device and tap on it.
STEP 2: Once you have opened the settings option, then proceed further to the Network & Internet option.
STEP 3: Select the Mobile network option from the menu bar and open it.
STEP 4: Go over the Advanced option and tap on it.
STEP 5: Go to the Access point names option and tap on it.
STEP 6: Enter the details of your network, and you get an Android no SIM card detected error fixed on your device.
Try Safe Mode

The no SIM error can be eliminated using your Android in Safe Mode. Follow the steps carefully.
STEP 1: Press your Power key button for a long time until a pop-up window appears on your Android device displaying a menu.
STEP 2: Select the reboot in the Safe Mode option and Select the OK option on your device. Your device will reboot into safe mode, and you will get an Android no SIM card detected error fixed.
Clear Your Android Phone Cache
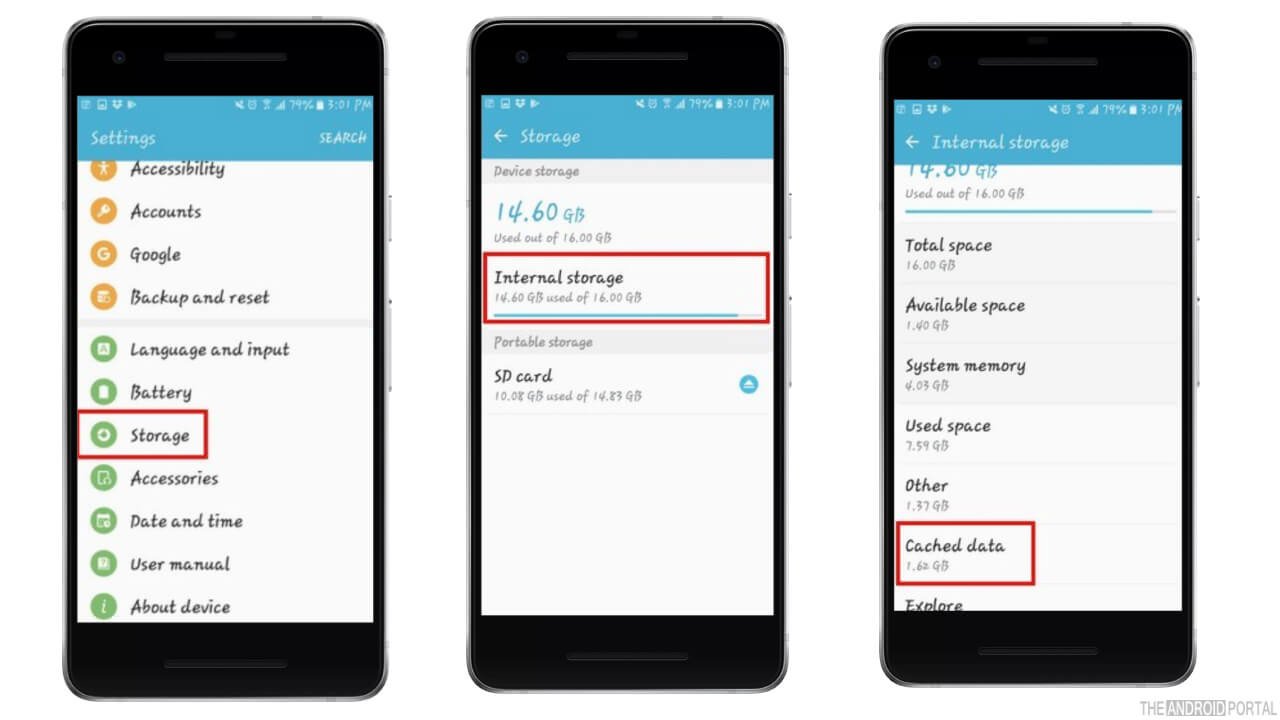
The cache can cause the same error for your Android device and may reduce the functionality. Therefore, you can easily fix this error by clearing the cache. So, follow the steps given down below.
STEP 1: Open the settings and tap on the Storage option.
STEP 2: Proceed further to the “Internal Storage” > “Cached Data.”
STEP 3: Tap on the cached data option and select the Delete option.
Summary
So, these are some of the best methods to get a SIM card-related error fixed. Also, we hope you have enjoyed reading this post.
Furthermore, if you have any queries, please let us know. Also, If you are new to TheAndroidPortal, then make sure to follow us for the latest updates. So, that’s all for now, and thanks for reading this post.


