Bored with the same name on Facebook, or is there any reason you want to change your name on the Facebook app? Or, you’re the new-gen guy who wants to add some stylish name on the Facebook app? If yes, then you land on the right page.
Today in our article, we will discuss how to change your name on the Facebook app. The process is so simple that everyone can follow it. So, read our article further you will get all the details related to that.
Facebook is one of the biggest social networking platforms that every Android and iOS smartphone users use. Through Facebook, you can easily exchange your ideas, thoughts, and content with others. The Facebook app offers you an excellent user experience and provides easy access to all its features like sharing videos and pictures, sending messages, etc.
Moreover, if you are in trouble, you can easily change your Facebook settings. You can also change your Facebook password with ease.
But can you change your name on Facebook?
Obviously, yes, you can easily change your name on Facebook, but remember, once you change your name, you cannot edit it again for the next 60 days.
So, if you want to change your name on the Facebook app and add some cool names, then follow the quick steps below. The entire process is straightforward, even for those who use Android for the first time.
How To Change Your Name On Facebook App?

- Open the “Facebook App” on your Android phone from the home screen apps.
- Tap on the “Menu icon,” which looks like “Three Horizontal Bars” located at the top right corner of the screen.
- From the lists, click on the “Settings And Privacy Options.”
- In the “Settings and Privacy,” click on the “Settings Option.”
- Now click on the “Personal Info.”
- You will see all your details on the screen like your name, email ID, password, phone number, etc. Here you can also see your “Manage “Name” Option,” and you can manage all your personal information from here.
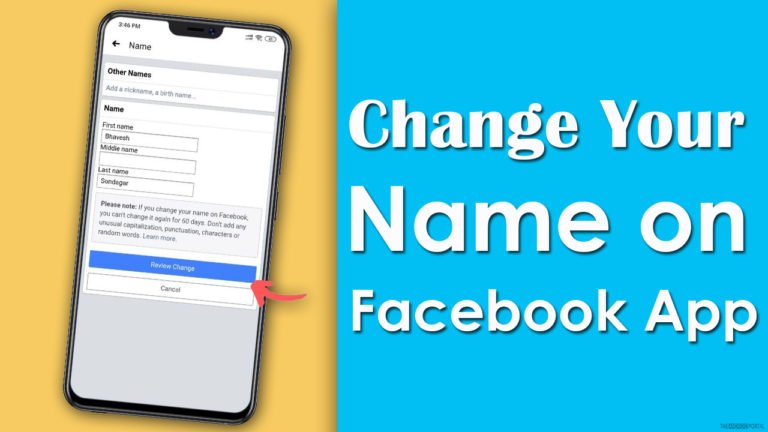
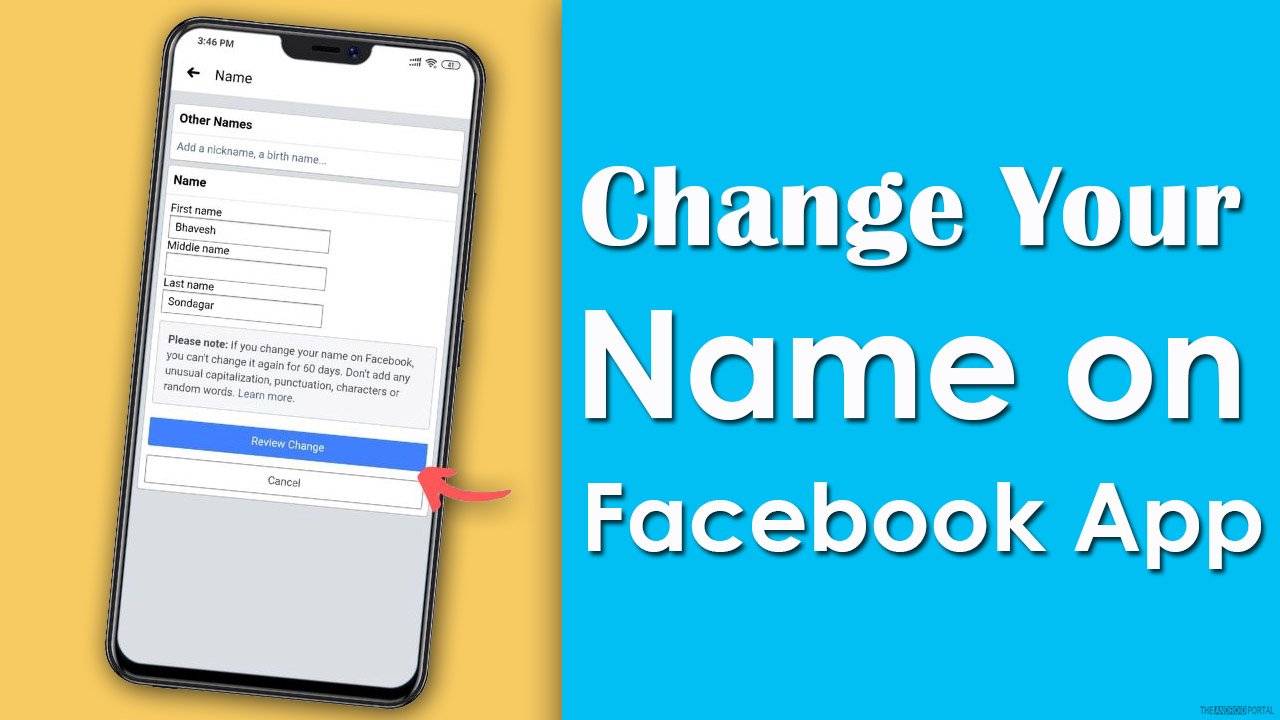
- “Click on your name,” and on the next screen, you will see a tab “Change Name.” From here, you can change your name as per your liking. But remember, any changes in your name must be confirmed by Facebook name standards.
- Enter your first name in the first box, then your middle name and last name. After entering all the details, make sure to double-check all the details because you are not able to change them before 60 days.
- If you also want to change your language-specific name, then click on the option, to add or change the language-specific name.

- After you have updated all the fields, “Click On The Review Change Option,” and select the appropriate display option.
- To confirm the change, you might also be asked to input your “Facebook Password.”
- Now “Click On the Save Changes option,” and your Facebook name has been changed.
- Now you can see your profile with your new name.
Summary
So those are the quick steps to change your name on the Facebook app. Aren’t these steps easy? The steps are so simple that even a beginner can do it quickly.
Thanks for reading this post. We hope you enjoyed reading this article. For more updates, do follow us and stay tuned with us at The Android Portal.