Samsung Galaxy A41 is a very cool smartphone that everyone should love to have. But sometimes you feel your Samsung Galaxy A41 is freezing and you want to boost your Samsung smartphone performance effectively.
Here on this page, we will discuss how you can factory reset the Samsung Galaxy A41 and wipe all the data on your Samsung Galaxy A41.
This page will show you how you can easily restore defaults on your Samsung Galaxy A41 mobile phone.
Make sure you completely back up your Samsung Galaxy A41, before restoring defaults to your mobile. Everything on your phone including files, images, video files, games, and APK files will be deleted by proceeding with these steps on your Samsung Galaxy A41. As a result, your Samsung Galaxy A41 phone will run faster and you will notice its performance is improved.
You can follow the process on any Samsung phone to boost its performance effectively.
How to factory reset in Samsung Galaxy A41?
Let’s jump into a direct step-by-step guide on how to factory reset the Samsung Galaxy A41.
Follow the steps information below to reset your Samsung Galaxy A41:
Step 1: Go to your Samsung Galaxy A41’s “Settings.”
Step 2: Go to the “General Management” option
Step 3: Select “Reset” > “Factory Data Reset” option
Step 4: Select “Reset Button” > Tap on the “DELETE ALL BUTTON” to confirm restore defaults!
Perfect, You have successfully reset your Samsung Galaxy A41 smartphone.
How to Hard Reset your Samsung Galaxy A41?
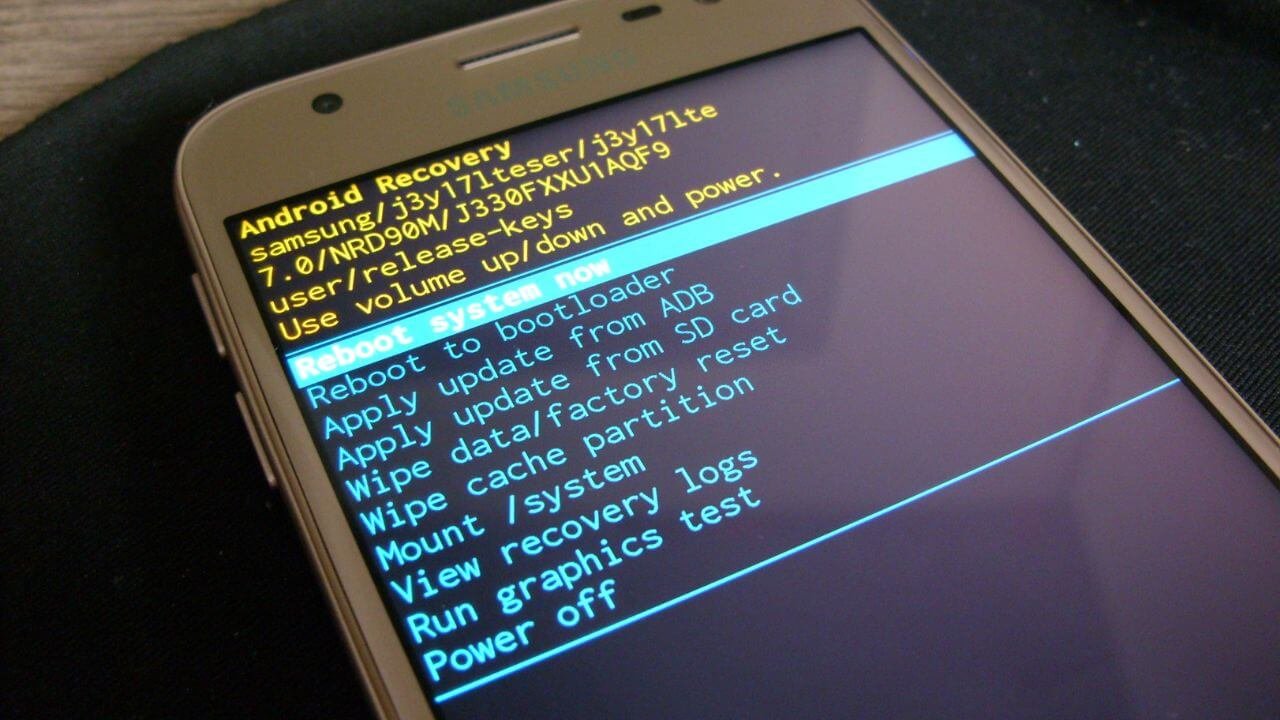
Another option is to hard reset. If you see a blank screen on your device and you still want to factory restore your Samsung Galaxy A41, you can use the hard reset option on your phone.
Follow the steps to Hard reset your Samsung Galaxy A41:
Step 1: Press the “Volume Down” + “Power” button on your Samsung Galaxy A41 for a few seconds.
Step 2: Hold “Volume Up” + “Power key” together for a few seconds.
Step 3: Leave the pressed button when you see a “Samsung Galaxy logo” on display.
Step 4: Now, Use the Volume keys to choose “the Wipe data/factory reset” option on your Samsung Galaxy A41 & confirm with the “Power button”.

Step 5: Now, choose “Factory data reset” from the list and accept it with the “Power key.”
Step 6: Now, use the “Power button” to select “Reboot system now.”
Awesome! You have successfully performed a hard reset process on your Samsung Galaxy A41.
We hope this article posted here about the step-by-step guide on how to factory reset the Samsung Galaxy A41 has helped you.
If you have any questions about anything related to the Samsung Galaxy A41, feel free to share your opinions in the comments below.


