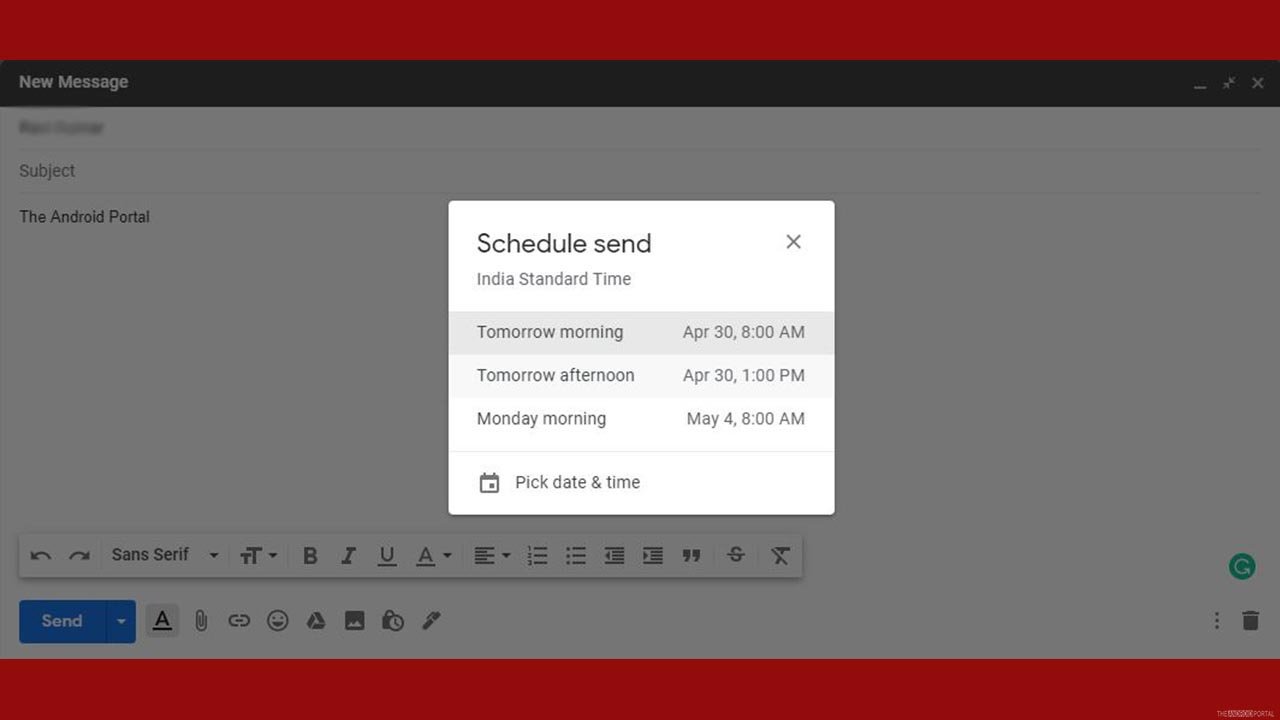
Want to know how to use the Gmail schedule feature on desktop and Android? Here we can help you. We have explained everything about how to use the Gmail schedule feature on desktop and Android in the sections below.
Gmail is one of the free and the biggest platforms for sending and receiving emails. Every day millions of users access Gmail on their phone as well as desktop. It provides enough storage to store their emails and also gives full access to all its features like search for specific messages within no time.
One of the amazing features that Gmail offers is the Schedule Send Feature, which was launched back in April, and it is effortless to use. So, today in our article, we are going to discuss how to use the Gmail schedule send feature.
What Is This New Gmail Schedule Send Feature?
If you are habitual of sending emails in the late night or early morning, then this feature is for you. With the Gmail Schedule Send Feature, you can send your emails from your Gmail account at an appropriate time without disturbing your and the receiver’s sleep. This feature also helps you in assigning the right email at the correct date and time.
Schedule Send Feature is of great help because it schedules your messages and maximizes the efficiency of your email so that the receiver doesn’t have to wait for long hours. The feature is beneficial for all the users, especially the office colleagues. So, if you want to know more about this feature, then read our article further to get all the details.
How To Schedule Email in Gmail

The Gmail Schedule Send Feature on Desktop is very easy to use. To do so just follow the quick steps below:
- Open the “Gmail” and login to your account.
- Then click on the “Compose Icon” at the top left corner of the screen.
- Then tap on the “Drop-Down Menu” after composing your email.
- Reopen the drop-down menu, and click on the “Schedule Send” option. available under sending options.
- You have noticed four sub-options under “Schedule Send.” Click on any one of the options according to your preference.
- Then tap on the “Time and Date” option to select the right time and date for sending an email.
- Once you have selected the appropriate time and date, finally click on the “Schedule Send” option.
Your email will automatically be sent on the selected date and time.
How to Use Gmail Schedule Send Feature on Android Phones?

Here are the quick steps to Schedule Send an email on Android phones.
- Open the “Gmail App” on your device.
- “Login to your Gmail Account,” if you have already login then skip this step.
- Click on “+ Icon” to compose the email
- After writing the email, click on “Three Horizontal Dots.”
- From the list tap on the “Schedule Send” Option
- You have noticed four different options:
– Tomorrow Morning
– Tomorrow Afternoon
– Monday Morning
– Pick a Date and Time
Choose any of the above options according to your preference.
- If you choose the “Pick Date and Time” option, then select the appropriate date and time for sending an email.
- After that, click on “Schedule Send,” and your email has been sent on the date chosen and Time.
How To Cancel Scheduled Emails On Gmail?

- Open the “Gmail Account” and click on three horizontal lines.
- From the list, tap on the “Scheduled Option.”
- Then from the list, select the email that you want to cancel.
- Then tap on the “Cancel Send Icon,” which looks like “X” and your scheduled email is cancelled.
Summary
So, those are the quick ways to Schedule Send Emails on Gmail. Both methods are easy to perform. Thanks for reading our article. We hope from now you are sending your emails at the right time. For more fresh articles, do follow us on The Android Portal.